To put simply, a GNOME Shell Extension (also GNOME Extension) is any piece of code that improves and adds GNOME desktop’s functionalities. Think of it as a Google Chrome extension or Firefox add-on only that it is for your Desktop Environment.
GNOME Extensions can be used to tweak almost every aspect of the GNOME Desktop Environment e.g. customizing mouse behavior; and also to display information like the weather, battery status, etc.
There are almost an unlimited number of GNOME Extensions and the most convenient way to manage them is via the popular GNOME Tweak Tool so you need to set that up if you don’t already have it installed on your system and you can install it either via your Software Center or your terminal using:
$ sudo apt install gnome-tweak-tool
There are 3 ways to use GNOME Extensions:
- Install the free minimal bundle of extensions curated for your distro.
- Installation in your web browser.
- Manual installation.
1. Free Minimal Bundle Installation
This refers to the minimal set of extensions that several Linux distros usually package for their users and the last time I checked it contained 10 extensions. Install them via the CLI using the following command:
$ sudo apt install gnome-shell-extensions
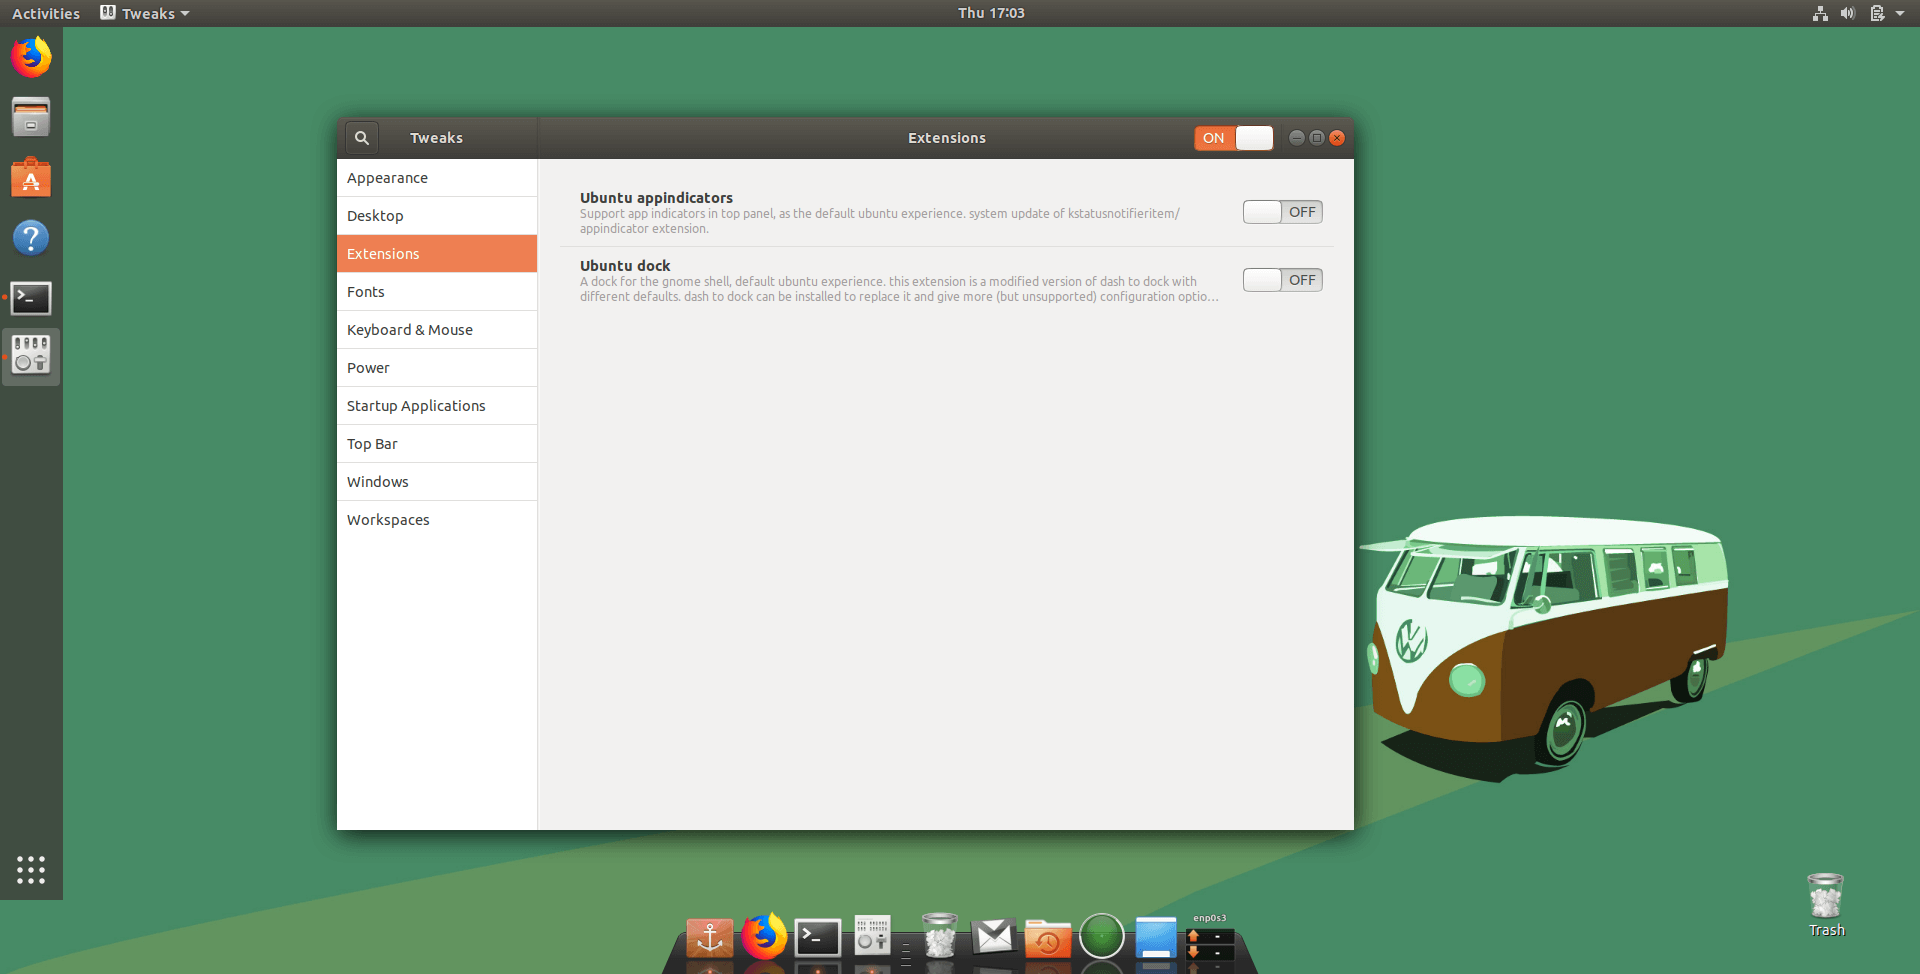
Once the installation is complete, reboot your machine, launch the GNOME Tweak Tool, navigate to Extensions and click to enable the extensions that you want to use.

If you want more extensions than those in the minimal bundle then read on.
2. Installation in Your Web Browser
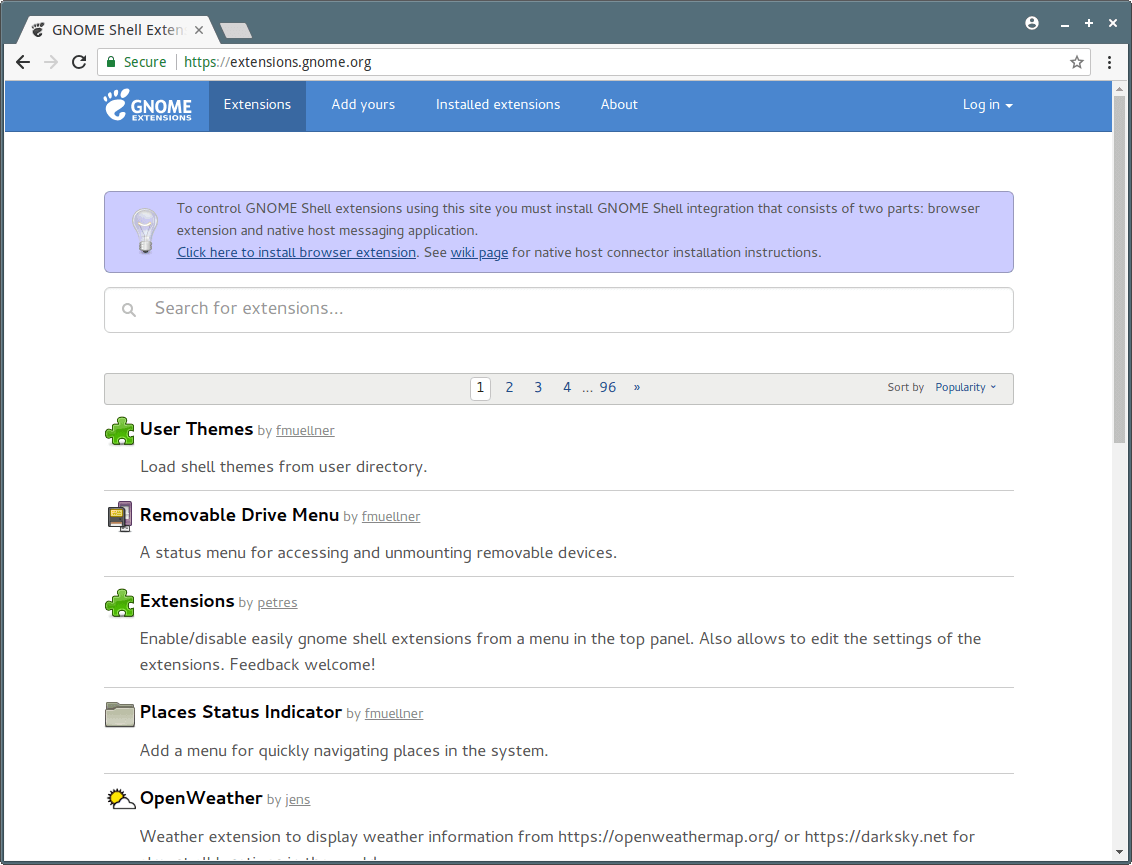
The GNOME Project has a website dedicated to its Gnome extensions and you can install and manage preferred extensions right from your browser without the need to use GNOME Tweak Tool.

However, you will need to have a browser-specific add-on and a native host connector installed in your system. Follow any of these links to get the browser extension for Google Chrome, Firefox, and/or Opera.
Next, install the native connector using the following command:
$ sudo apt install chrome-gnome-shell
You can now open the GNOME Extensions Website where you can search for, install, and enable your preferred extensions.
You can also configure individual extensions by clicking the gear icon next to their title on the website or via the GNOME Tweak Tool.
3. Manual Installation
Assume that you’re offline and you need to set up a GNOME Extension, how do you go about it? Manual installation. Head over to the website to download the extension file which you will extract and move to your ~/.local/share/gnome-shell/extensions directory.
Next, open metadata.json file inside it and check for the value of uuid and make sure it is the same value as extension folder’s name. If it isn’t, rename the folder to the value of the uuid.
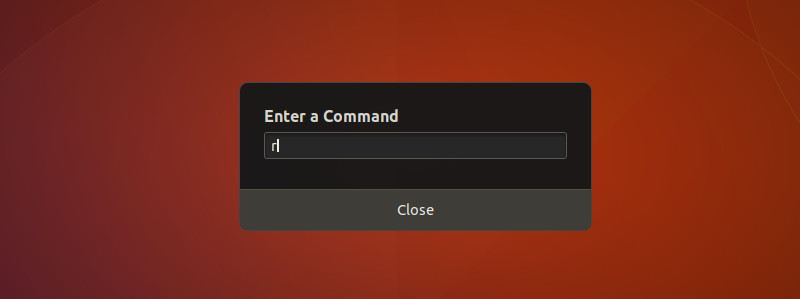
Next, restart the GNOME Shell by pressing Alt+F2 and entering r.

Restart GNOME Tweak Tool if it was already running and you should see the newly installed extension in the extensions section where you can manage it like you would in the formerly listed methods.
Uninstalling any GNOME Extension is as easy as removing them from the GNOME website’s installed extensions section. And if you installed the extensions manually, delete the files from your ~/.local/share/gnome-shell/extensions directory.
Are you conversant with the methods for installing GNOME Shell Extensions? Tell us which is your favorite in the comments section below.

Please update for 22.10. Gnome-tweak-tool doesn’t exist any more.
I’m on OpenSUSE (Tumbleweed) and the manual install worked like a charm 🙂