There has been a lot of talk surrounding Budgie and where the project creator and lead Ikey Doherty intends to take the platform in the coming releases. Most of what is being said is that a newer version of Budgie will be built around technologies offered in Qt moving away from those in the GNOME GTK+ toolkit.
On paper, Doherty’s reasoning behind the move is sound. Budgie’s integration with GNOME hasn’t been smooth as the two always seem to be heading in different directions. This, however, caused problems for Budgie, from its API or ABI changes, components eating other components (such as Mutter folding in cogl and clutter) just to name a few.
Budgie is only able to function the way it does because, for the most part, it dampened part of its identity by pretending to be GNOME Shell. Budgie’s team aspirations include doing away with VALA and moving to a more powerful toolkit that it hopes would bring in improved performance, support for newer and richer effects plus more flexibility to add much-needed features to the platform. This will hopefully also mean fewer issues for Budgie.
With that being said, Budgie is at the moment still a GTK+-based platform, and version 10.8.2 has just dropped. In an announcement made by the Ubuntu Budgie team, several changes and improvements were highlighted with a reminder that 10.8.2 marks the second release of their 10.8 series. This means that much of the team’s focus will be on the Qt-based version of Budgie.
But, the project will make sure that future 10.8 versions are functional and they will include minor updates and tweaks.
Features of Budgie Desktop
Now, let’s explore some of the features offered by the latest release of the Budgie desktop environment so that you can become familiar with what you’ll enjoy after installing it.
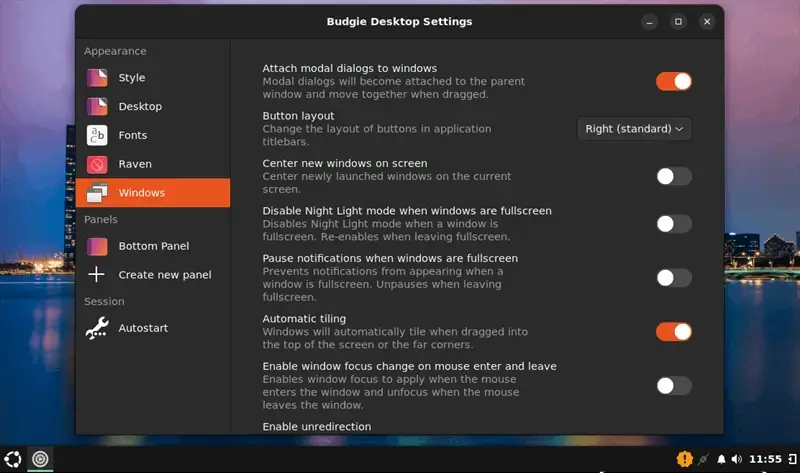
Customize Budgie Desktop
You can utilize Budgie’s Settings application to make it look like what you want because it offers numerous options to make it feel like home with a few clicks. You can customize its appearance to resemble macOS, Unity, or a traditional desktop.
Budgie Menu
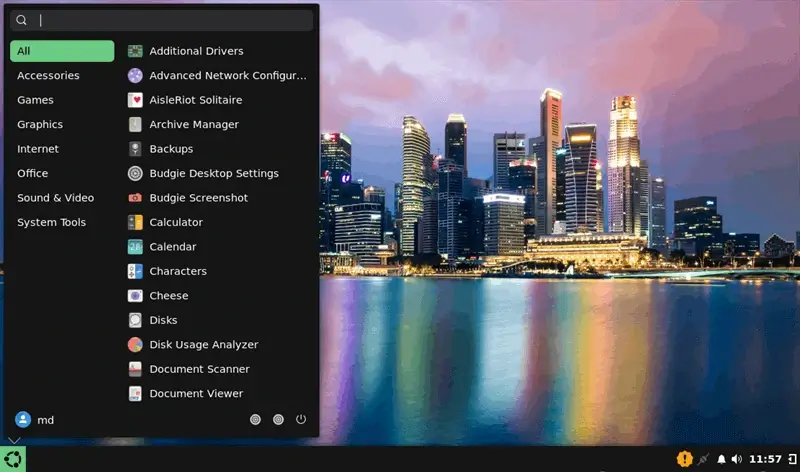
Budgie offers a Budgie Menu that lets you view all your installed applications in a neatly organized manner. You no longer need to go through the hassle of visiting sub-menus to locate the desired application, as it even offers a fast application searching facility.
Budgie Raven
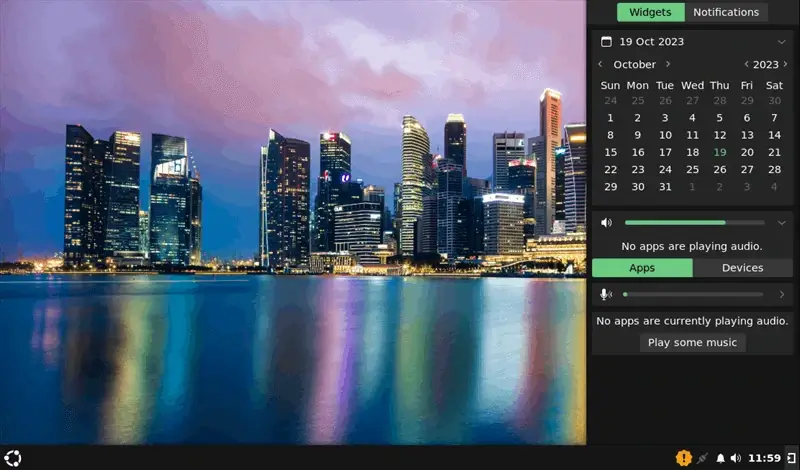
This latest Budgie desktop includes Raven, a notification and widget center that provides access to notifications, calendar, Volume control, media playback, Usage monitor, and more.
Dark Style Preferences
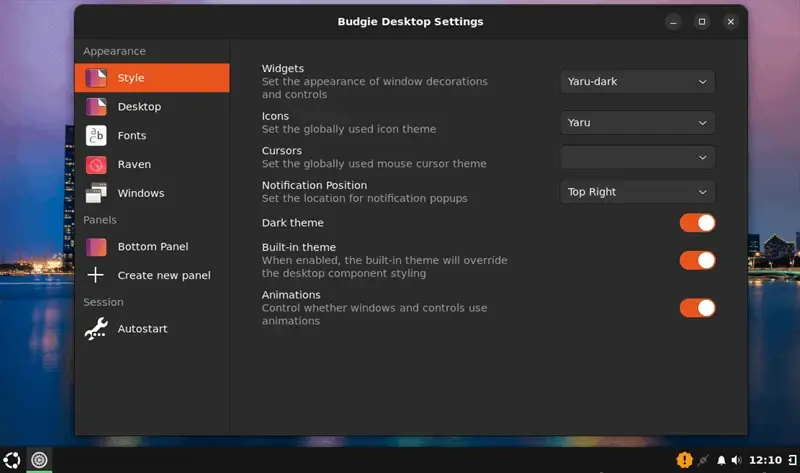
In this latest release, users can even toggle between dark and light themes for their desktop environment using Style settings according to their taste. Up to this point, these settings are not applied to applications, which can be confusing for users. However, the Budgie team has plans to improve this.
That’s enough about the features for now! You can visit their official GitHub page to explore other major components of the latest Budgie.
How to Install Budgie Desktop in Ubuntu
If you wish to use the Budgie desktop environment, you have two options: either install Ubuntu Budgie using its ISO or the desktop environment itself in your existing Ubuntu machine.
Power on your system and ensure it is up-to-date by executing the command stated below. It is a smart practice to update your Ubuntu’s repositories before installing any new package.
sudo apt update && sudo apt upgrade -y
After updating your system, you have the option to install the stable version of this desktop or the latest one by following the given commands.
sudo apt install ubuntu-budgie-desktop
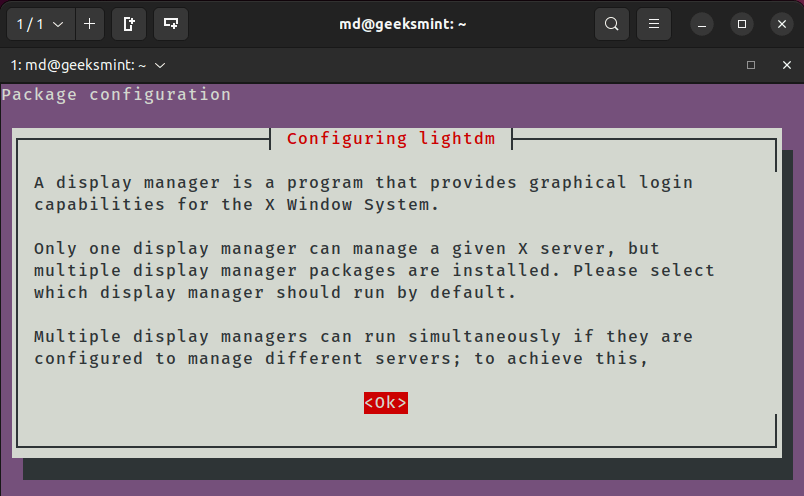
While installing Budgie desktop, you will encounter a package configuration prompt. Here, select the “OK” option for configuring “lightdm” (display manager for Budgie):
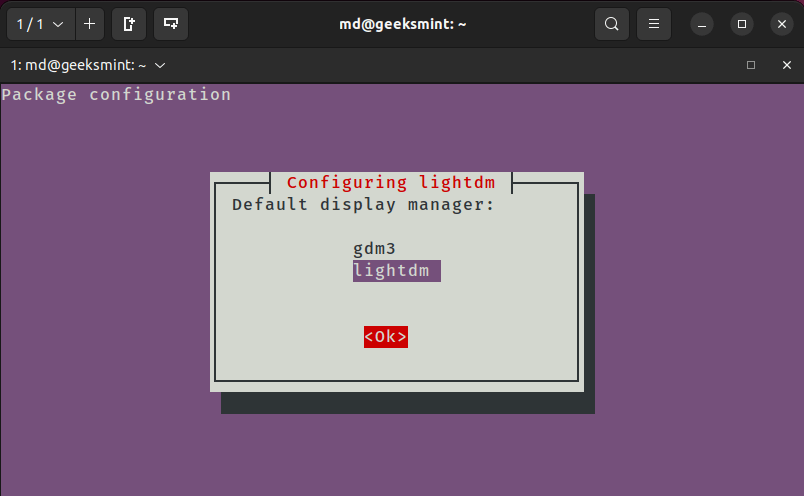
Moving onwards, choose “lightdm” as the default package manager for your Ubuntu system and select the “OK” option.
Once you have completed the installation, it’s high time to reboot your system to apply the changes.
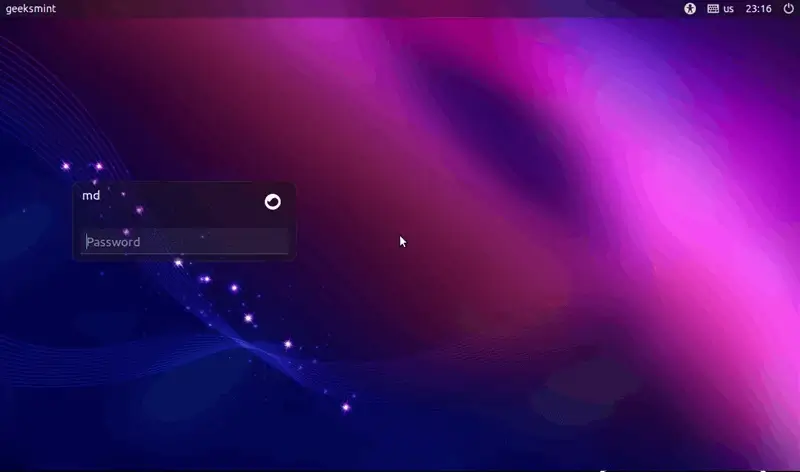
After the reboot, you will arrive at the login screen of your Ubuntu with the Budgie desktop. Type in your password to log into the system.
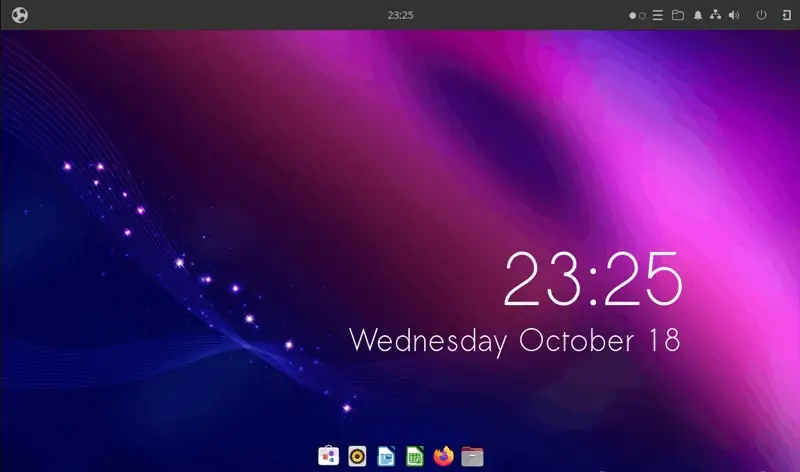
Finally, your Budgie desktop is ready for use!
However, if you are not interested in the old version and wish to try the latest version, worry not, we have got you covered!
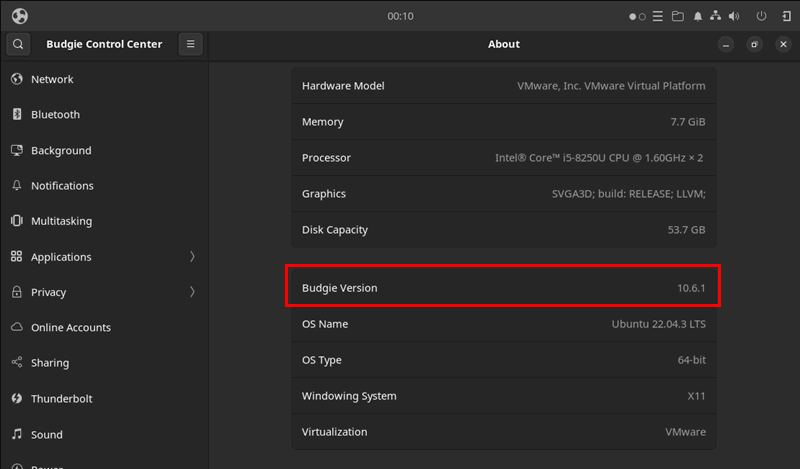
Note: This blog is written immediately after the release of the Budgie desktop environment so the standard method for the installation of the Budgie desktop on Debian-based Linux distributions is yet not available. Therefore, we will build this desktop using its GitHub repository.
How to Install Budgie Desktop from Sources in Ubuntu
First, update your system and then install essential build tools and Git by executing the following command.
sudo apt install build-essential git
Moving onwards, we will also install the build dependencies for the Budgie desktop environment by running the command mentioned below:
sudo apt build-dep budgie-desktop
Now that your system has all the required dependencies, let’s execute the commands mentioned below to clone the source code for the Budgie desktop from its GitHub repository. Then, move to the cloned directory to initialize and update external Git repositories (submodules) linked to the main project.
git clone https://github.com/buddiesofbudgie/budgie-desktop.git
cd budgie-desktop
git submodule update --init
Let’s now configure the build environment for the Budgie desktop by specifying installation directories and build options using the Meson build system.
meson build --prefix=/usr --libdir=/usr/lib --sysconfdir=/etc -Dwith-gnome-screensaver=true --buildtype plain
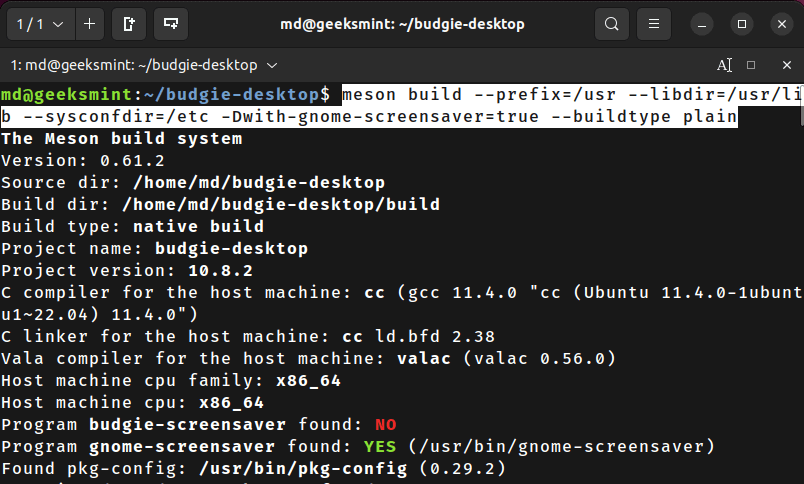
Finally, let’s execute the stated commands to build and install the Budgie desktop using Ninja as the build system.
ninja -j$(($(getconf _NPROCESSORS_ONLN)+1)) -C build
sudo ninja install -C build
These commands will consume some time, so you have to wait patiently.
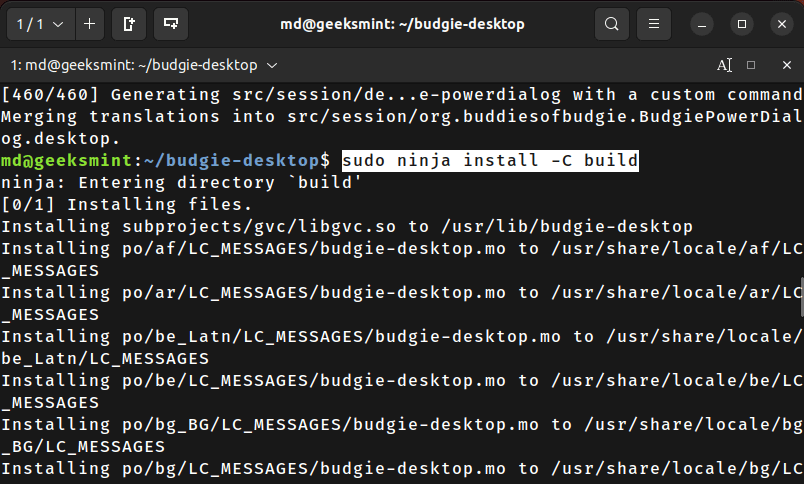
After the installation, restart your system to apply the changes. On the Login screen of your Ubuntu system, click on the “Gear” icon and choose “Budgie Desktop”. Then, enter the password to log into your system with Budgie Desktop as the default desktop environment.
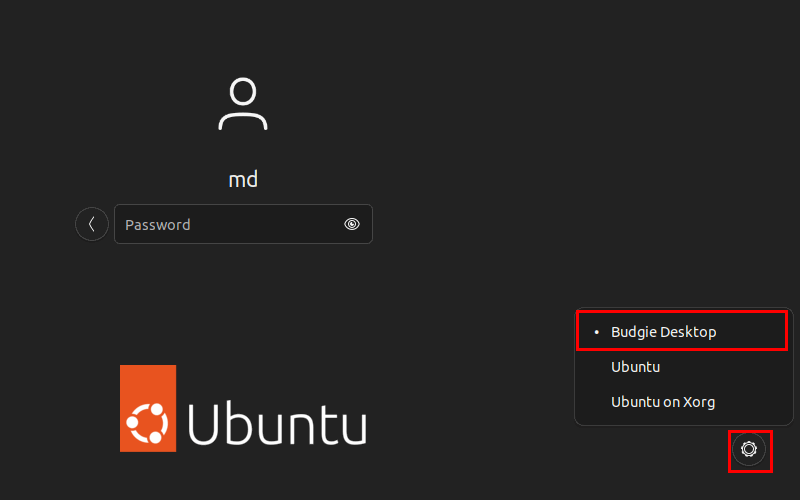
Enjoy using the latest Budgie desktop!
How to Remove Budgie Desktop from Ubuntu
However, if you change your mind and no longer wish to use Budgie desktop, you can remove it by running the command stated below:
sudo apt autoremove --purge ubuntu-budgie-desktop
Keyboard Shortcuts for Budgie
How about concluding our blog post by stating some useful keyboard shortcuts for Budgie Desktop?
- You can open the Budgie Menu by pressing the
“Super”key. - To open the Raven widgets, press the
“Super + A”keys. Also, to open the Raven notifications, hit the “Super + N” keys. - Users can easily take screenshots of your system’s entire screen by pressing the
“PrintScreen”key. Additionally, you can press the“Alt+PrintScreen”to capture the screenshot of the active window.
Quick Note: The “Super” key generally refers to the “Windows” key unless the user has not specified it explicitly.
Conclusion
Budgie is a modern, lightweight, and powerful desktop environment that leverages GNOME 3 components without unnecessary bloat. It is supported by all major Linux distributions and offers support for 71 languages.
You must give a try to the latest Budgie! Don’t hesitate to share your experience with Budgie in the comments below.
