Branding is no more restricted to products or services. You can be an entrepreneur, a blogger, a photographer, a lawyer or an artist, the current situation demands branding yourself!
Resumes are all gone now and personal Branding is getting popular and common as it makes easy to showcase your work and lets people know about you and your skills. Don’t worry, you do not require any technical or writing skills to create your Website for Personal Branding. About.me is such a website with a service that makes all of it easy like a cakewalk.
In this article, we will be giving you step-by-step guidance on how to create a website for personal branding with about.me. We have tried our best to make the process even easier for you. Hope at the end of this article, you will not have any questions on how to go about it.
How to Create Personal Website with About.me
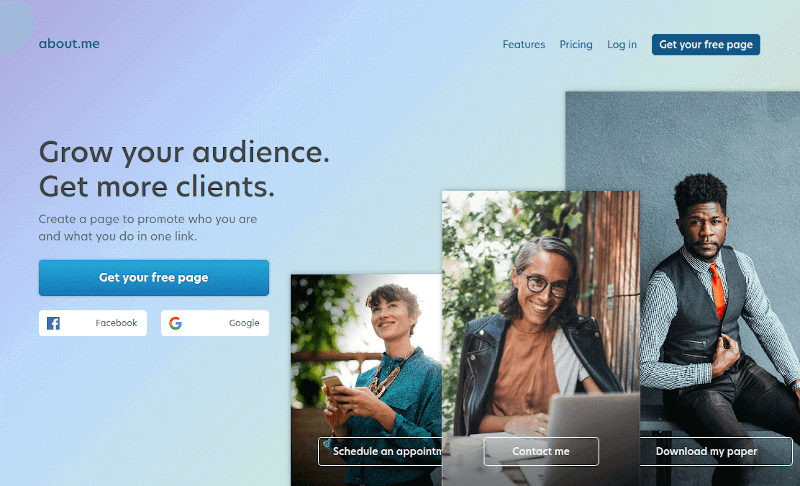
Go to about.me on your web browser and create your own about.me page for free but if you wish to connect it to your domain you will need to upgrade to Pro.
We will be here giving you a step by step instruction of the unpaid option. To continue to next step click on any one of two “Get your free page” button.
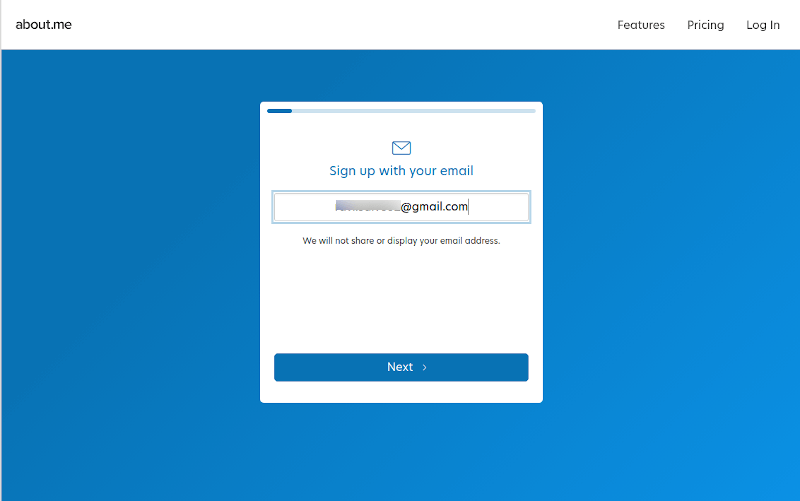
In the next step, it will ask you to Sign up with your email and click the “Next” button to continue.
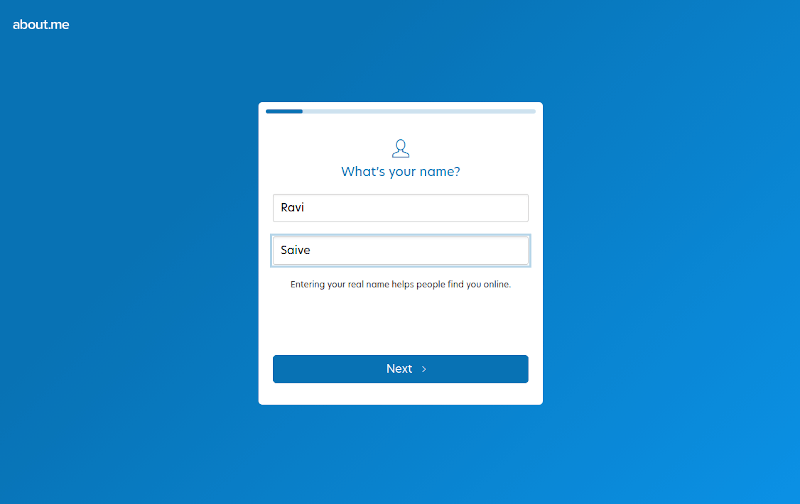
Next, enter your first name and last name and click on “Next”.
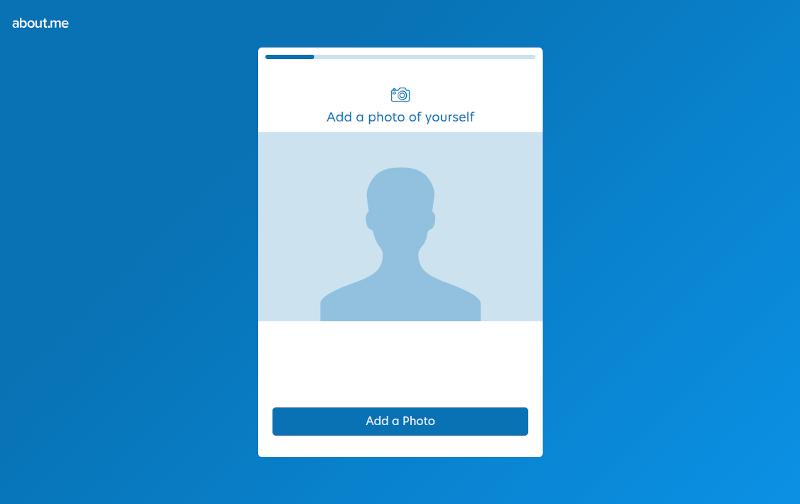
Next, you will need to add a picture of yours. Choose a clear Picture of yourself and upload it from your computer by clicking on the “Add a Photo” button. You can upload any picture, but as it is about personal branding prefer a clear picture which makes you look confident and connects with your work.
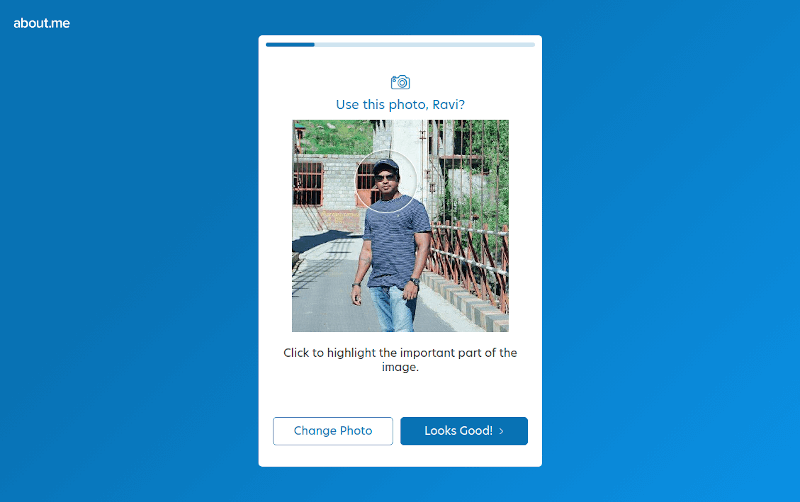
Once your photo is uploaded, you will be able to see it’s preview. About.me offers you a feature to highlight the important part of your image. You can change the photo if you are not satisfied with the current selection, once satisfied click the “Looks Good!” button to go to the next step.
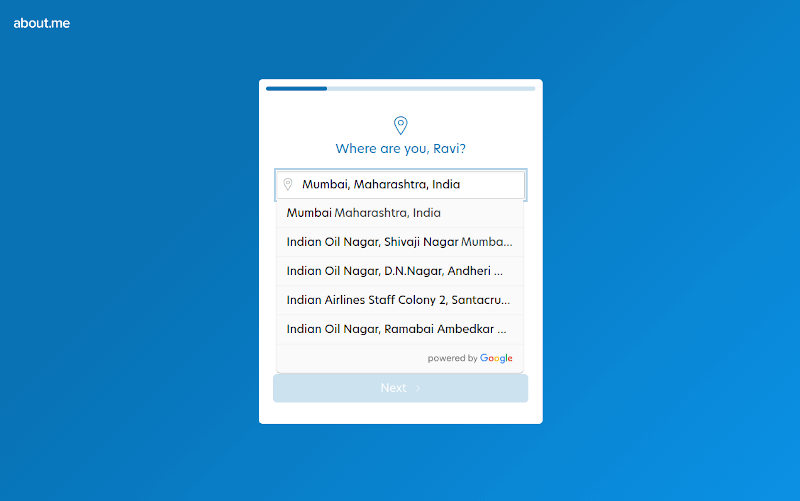
Now, it will ask you to add your location. Add your current location or the location you prefer to showcase and click the “Next” button.
Here comes the most interesting part, select the things you love to do. Just select 5 things you love to do and click the “Next” button. If you are not good with writing skills, do not worry about writing lines describing yourself.
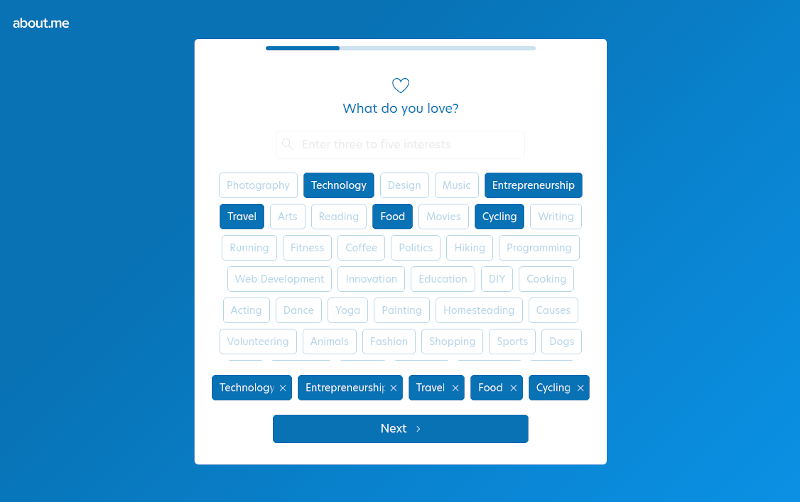
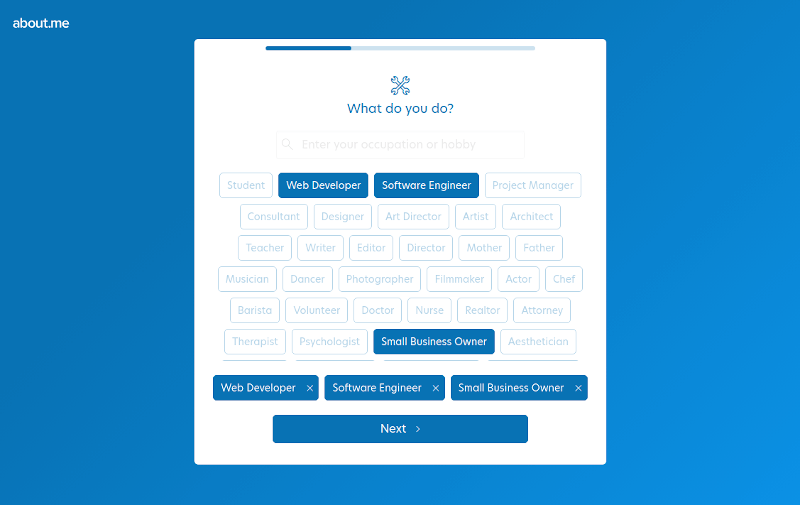
About.me intelligent Bio writer feature will do that for you. The next section seeks information on what you do. Select 3 things that you do professionally and click the “Next” button.
Here comes an important section. About.me gives you the privilege of deciding what you want people to do on your page. You have varied options to choose from people can make an appointment with you, they can listen to your music, read your book, back your campaigns and so on.
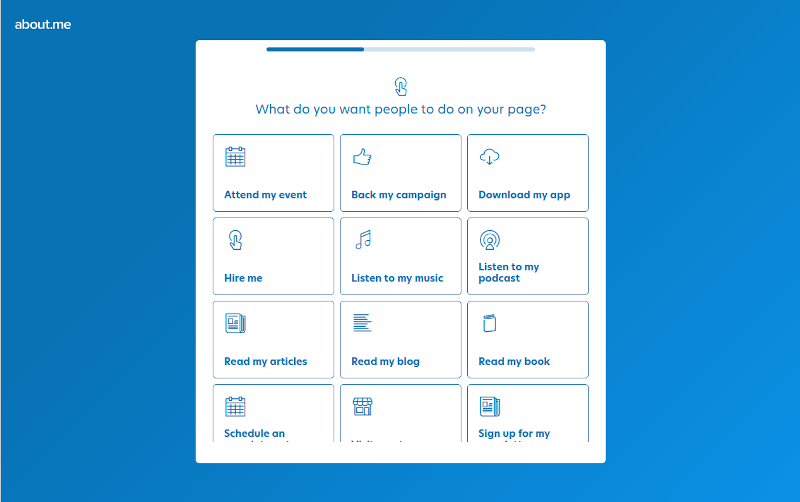
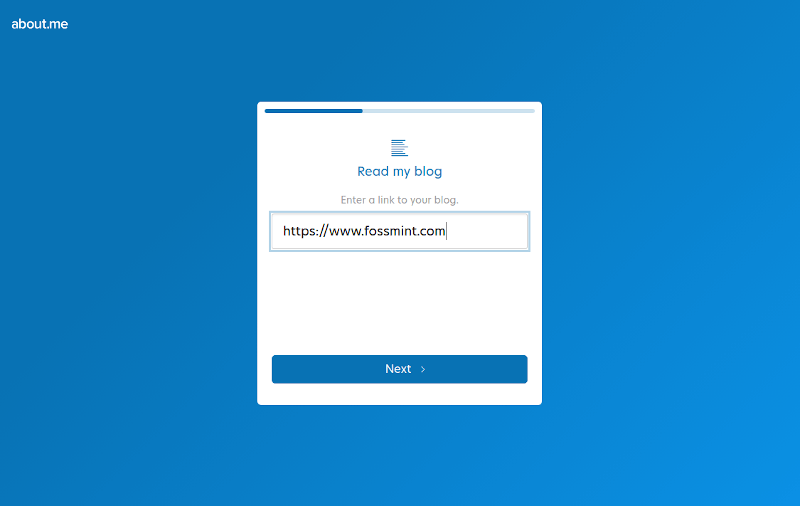
If your selected option requires a link it will ask for it. So, enter and click “Next”.
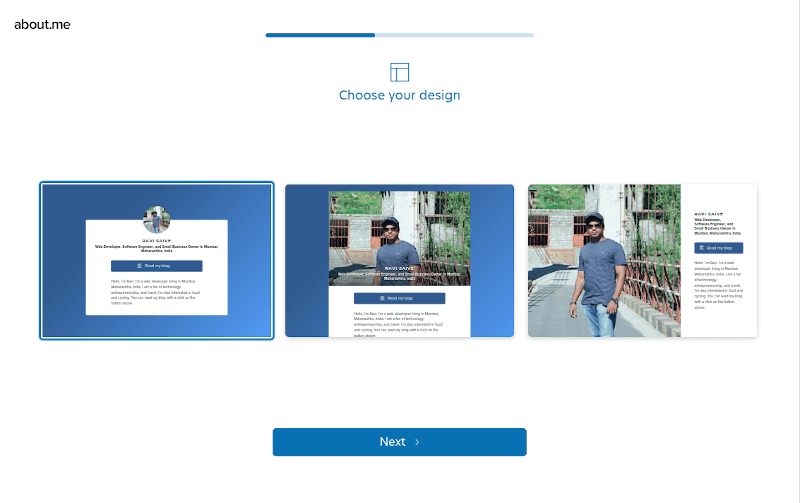
Select the design you prefer to display on your page and click “Next”. You also have the option to choose a color. Choose the color best describes you and click “Next”.
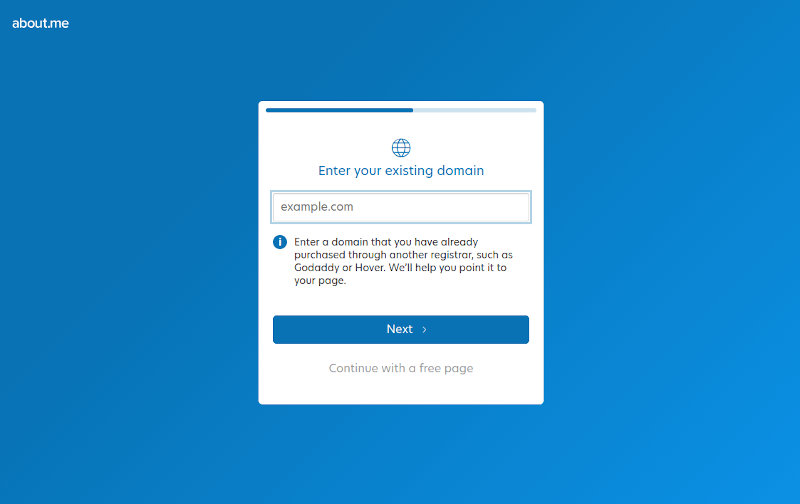
If you wish to connect to a domain you can do so in this step. You can either connect to an existing domain of yours or buy a domain for you and continue with that. This is a Pro feature.
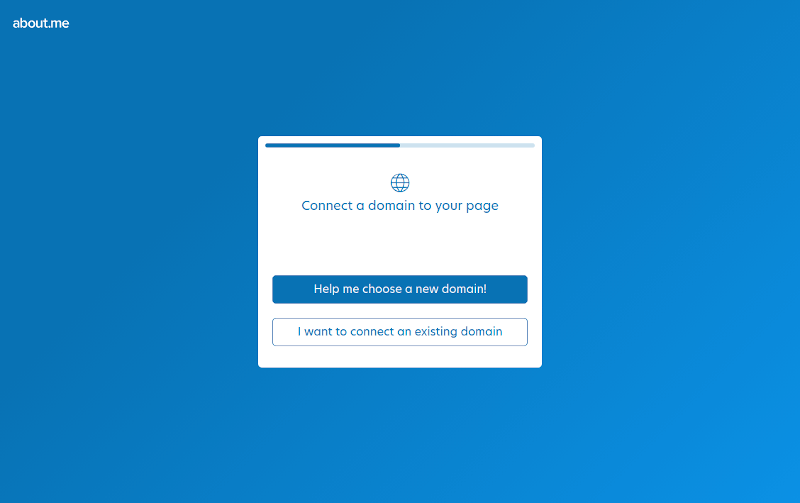
However, if you don’t wish to spend money right now or you are tight on budget you have the option to continue for free. You will not see any button here to continue with a free page, but you have that option open to you in the next step. Click on “I want to connect an existing domain”.
In the next page, you will see the option “Continue with a free page”. Click on that.
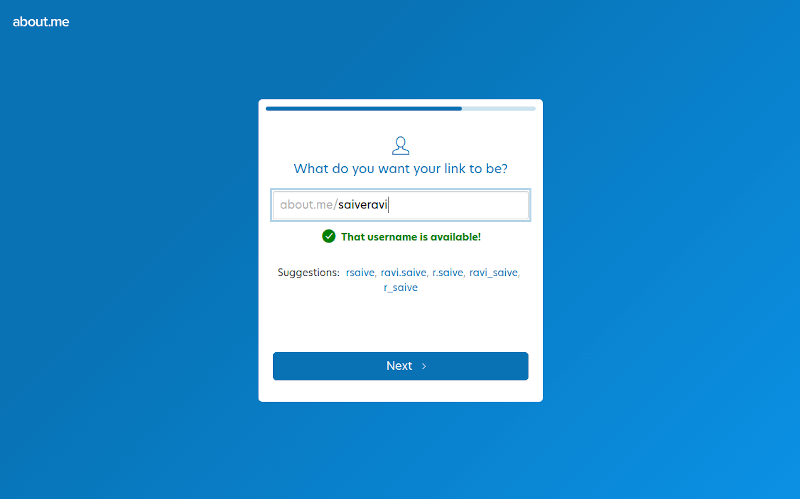
When you will continue with the free page option, it will give you a URL appended with about.me/{yourname}. It will auto-suggest you a name available, but you can also enter your custom name and continue with that if it’s available. Choose the name available for you and click “Next”.
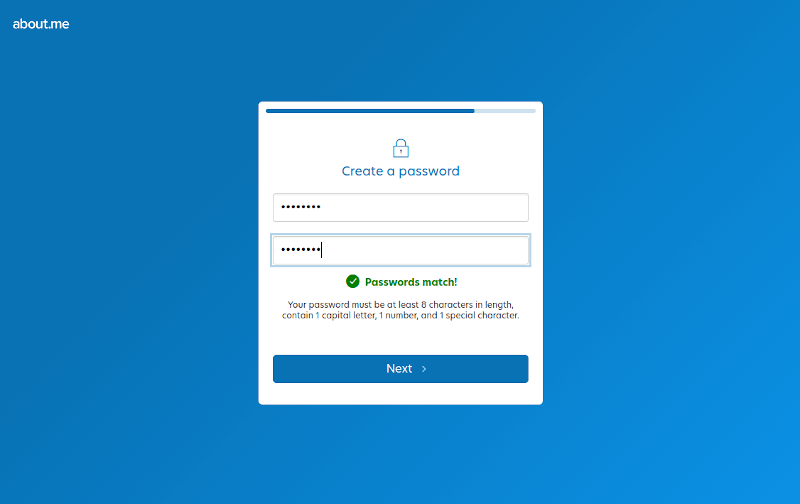
Enter the password for your account. Click the “Next” button.
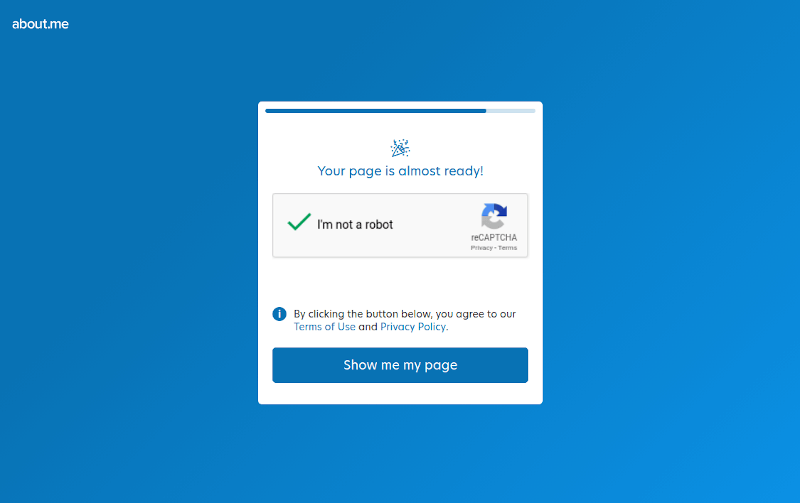
Click on “I’m not a robot” to verify yourself as a human!
And here comes your page!
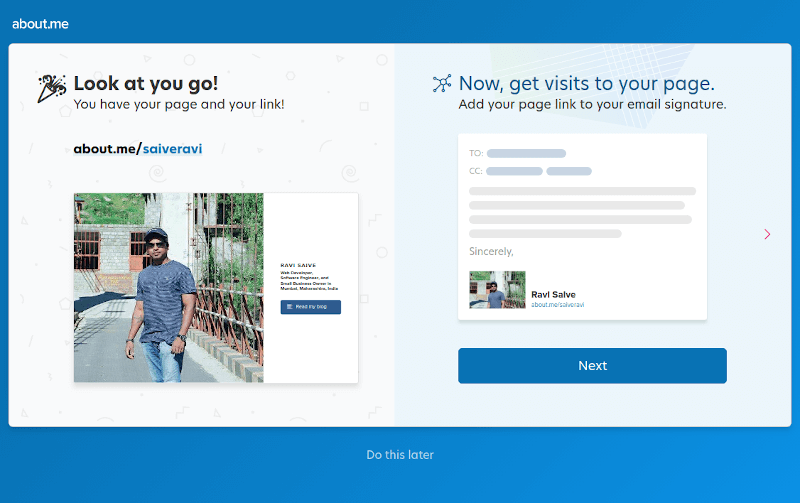
Your page is ready with your short bio and a highlighted button with your image. There are many other free and paid features offered by about.me for you. Let’s check a few of them too.
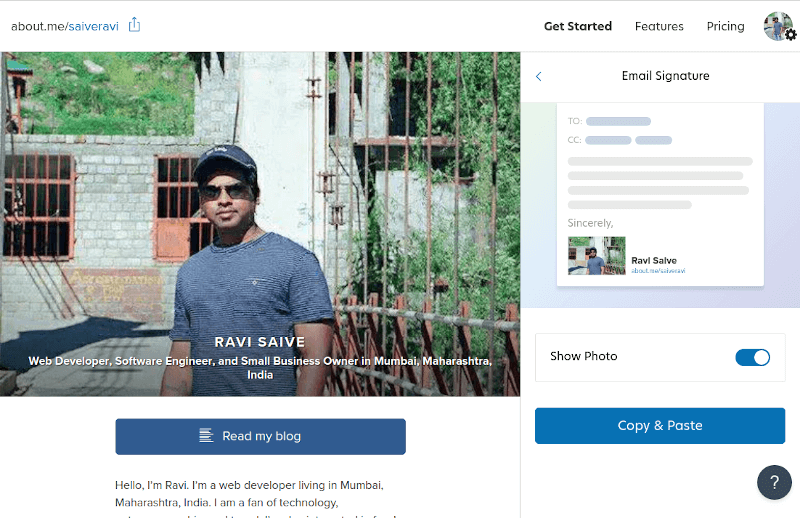
You can add your bio link to your email signature with a small preview of your bio. Here you can see a sample of that. All you need to do is just copy the link and add it to your email signature. So every time you send an email your about.me page link will be there. And this will make you look more professional.
You have another feature to add the link to this page on your social media sites. Just copy the link and paste wherever you wish to.
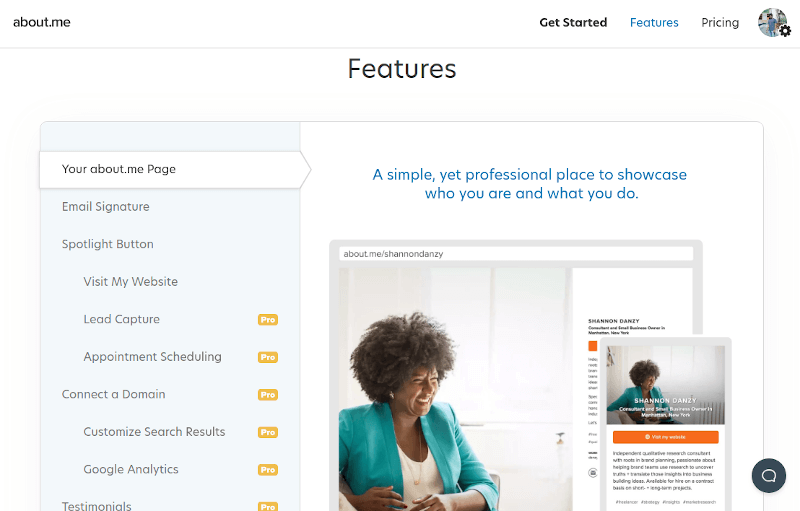
You can see the full list of features available to use under the “Features” menu button. You can click on an individual feature to know more about them or use them. Explore the options and use them as you desire. The possibilities are endless!
You can check my about.me page here: https://about.me/saiveravi.
I hope I have explained the steps in a very easy-to-do way and you will have no queries. However, in case you get stuck anywhere, please feel free to write to us by filling up the feedback form below.
Also, do let us know in case you are looking for how-to articles on any other topic. Now go create your personal branding page and endeavor on the path of your success!
If you’re looking to have a personal or business website, but don’t have time to create it yourself. I can do it for you, check out my WordPress Blog Setup Service.

Hi Ravi, i love this free service but actually is offline. Can you re-post it with a new website?
Thank you!